
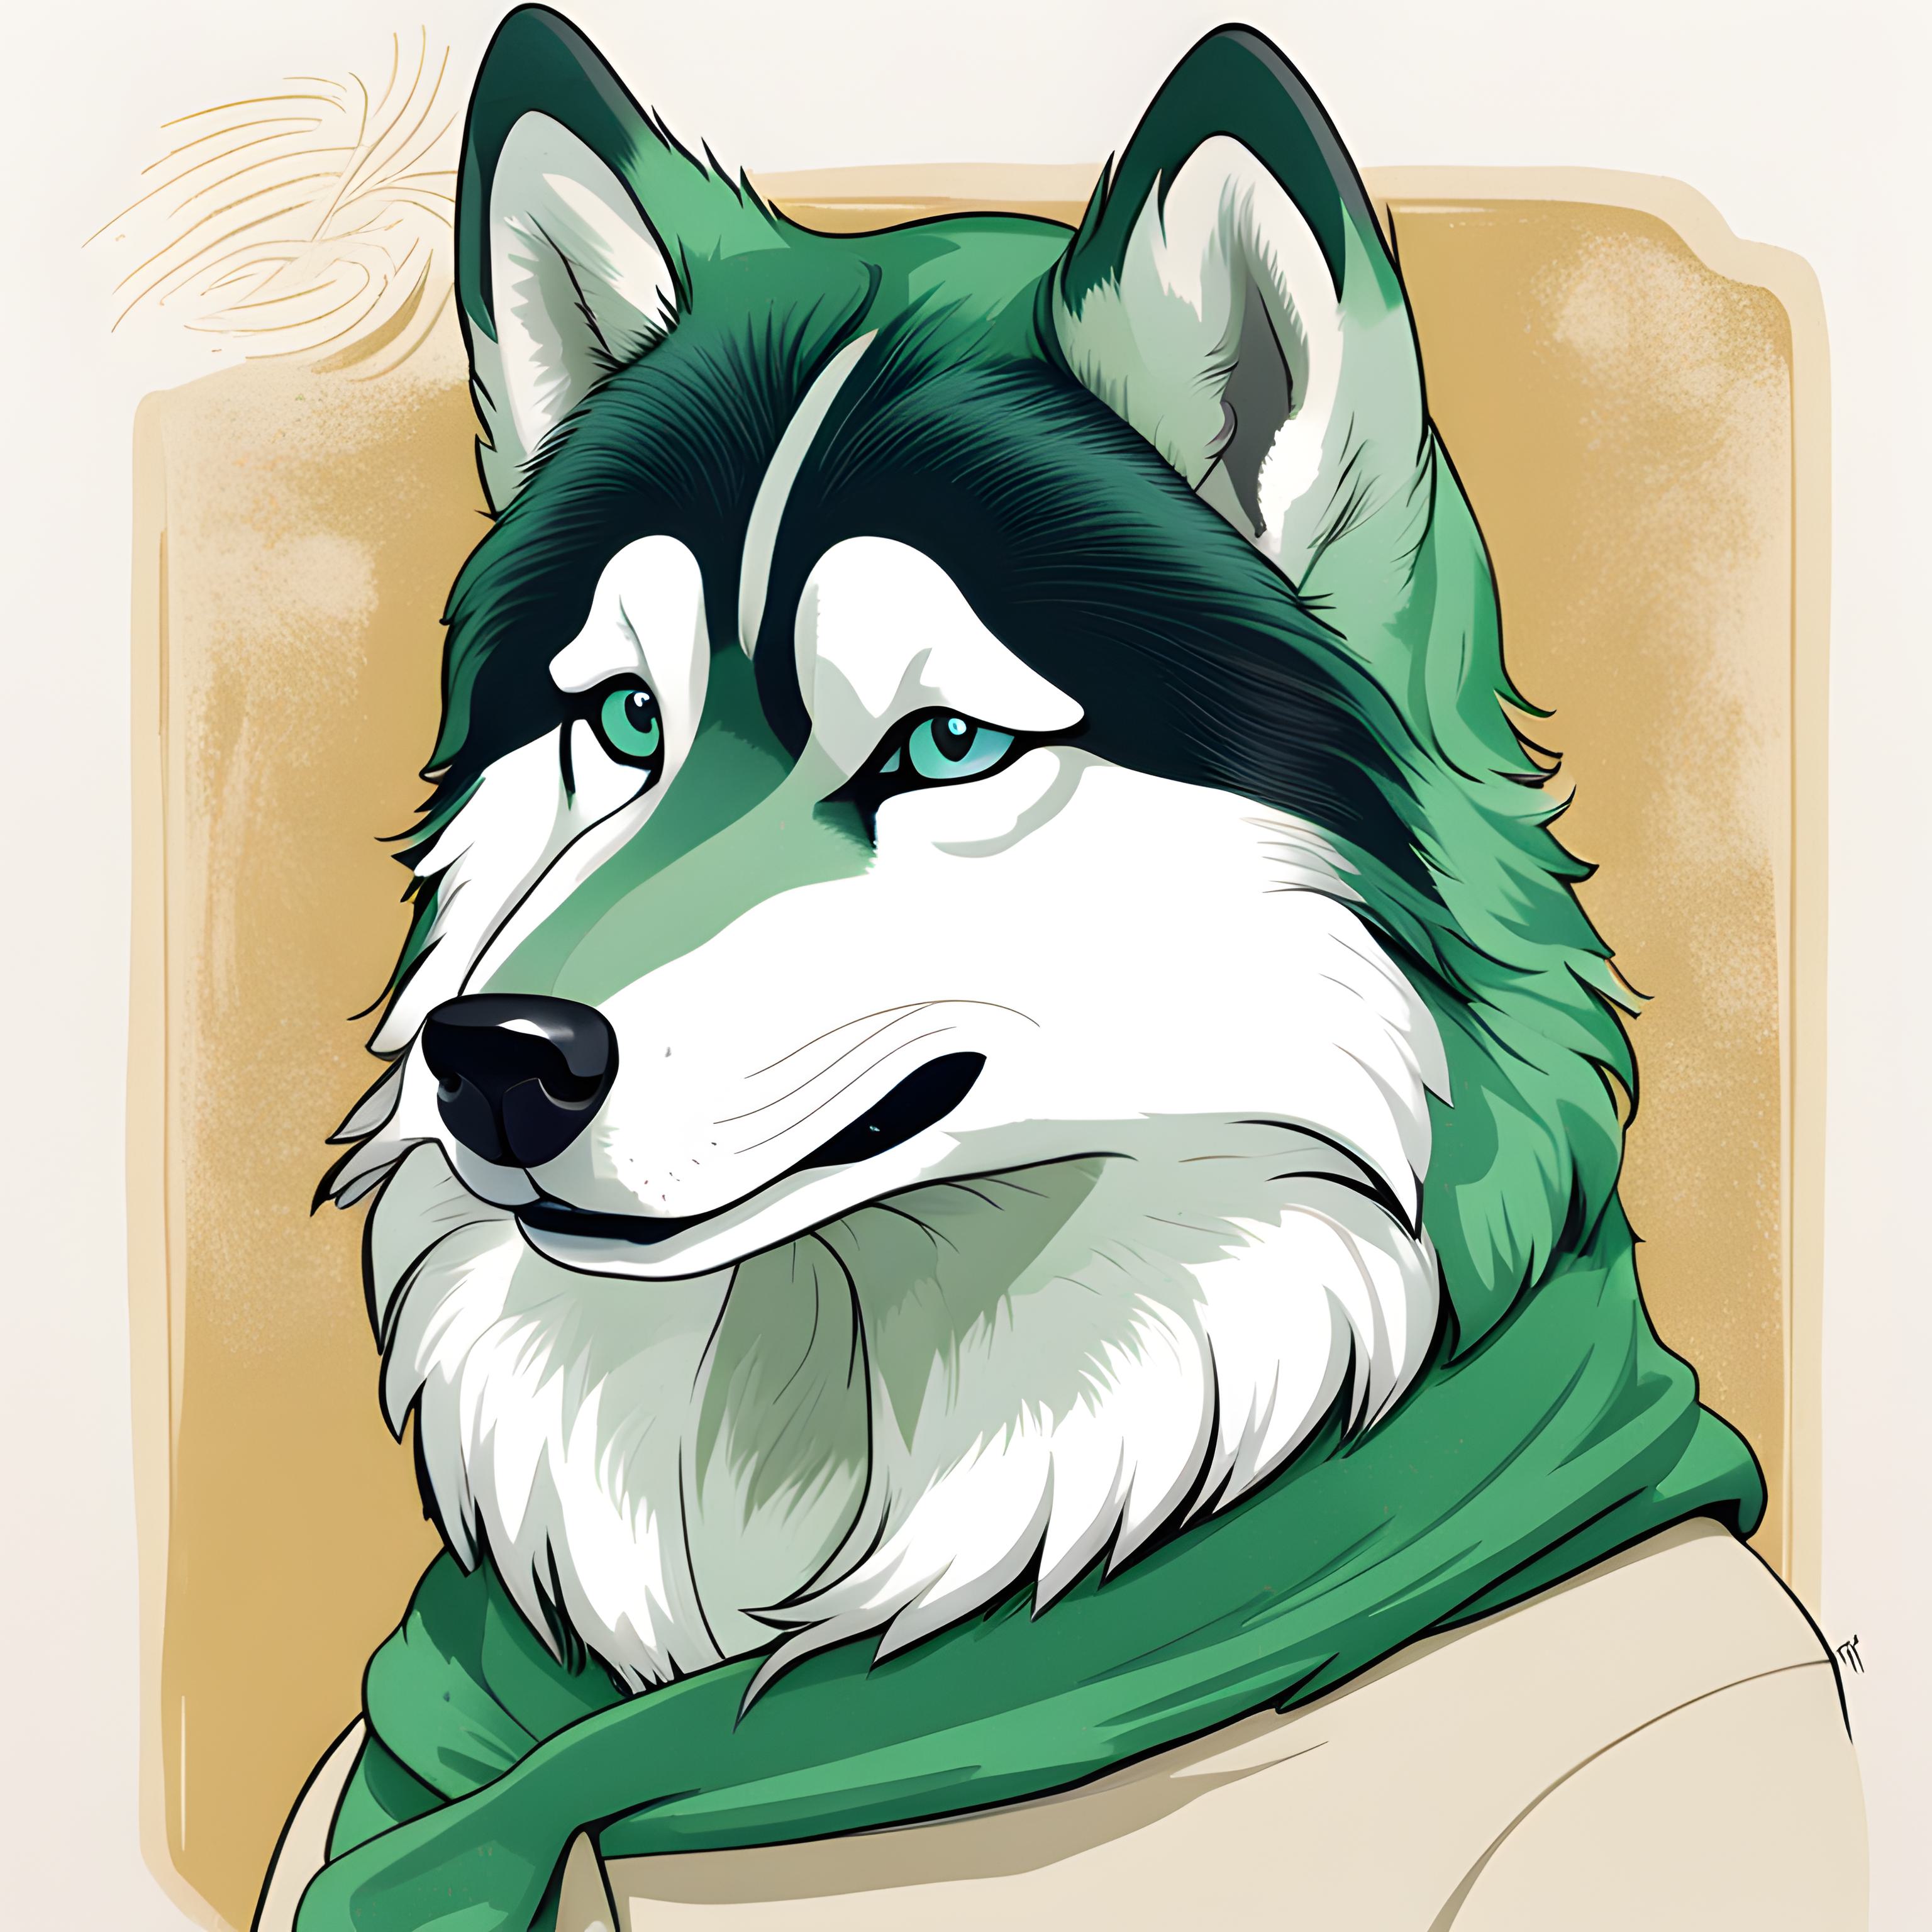
I’m getting these bald spots on the back of my separate scalp mesh. The hair is not combed behind the scalp, it’s just not there at all. Weight painting is totally red for both density and length, and I’ve tried disabling modifiers like frizz and noise, and every other one. Does my model just have bad genes?
UPDATE: The shader was the culprit! The missing hair was simply transparent, but I’ve switched the short hair to a simple node, and it’s all a lot smoother. The complex setup is still on the longer hair.

You know, I just read the title, saw the picture, and thought you modeled your own head to show the bald spots you were suffering from.
ha, and you probably noticed “bad genes”
I’m thinking of creating a community called Mysteries of the 3D Realm, for inexplicable issues I seem to have on the reg. This will be post #1.
It’s hard to say for sure, I’m not very practiced on hair in Blender. But it looks quite similar to issues I’ve seen with baking normal maps where the low res mesh clips through the high res one, causing little diamond spots like these bald spots. Could it be that the target mesh is on the wrong side and therefore not finding the target location to plant a hair follicle in?
Again, I don’t use Blender hair in my line of work so I may be way off.
so the scalp mesh is just a duplication of the original head mesh, and i have it shrinkwrapped to the head. The hair is only growing out of the scalp, which is the target, and even if I isolate it, the hair is just not there. and you can see in the first image where the guide curves are, which Blender interpolates, and even if those were missing, it shouldn’t do this. i hope i answered you!
I assume removing the shrinkwrap doesn’t fix anything?
Anyway, I doubt I have the expertise to solve this one. Good luck!
Nope, and that doesn’t effect how the hair spawns, anyway. thanks, appreciate it regardless!
my weight maps and edit mode, no blue spots or funky geometry, no double verts…


Hey I asked you to be more flattering when you draw me! /j
you are more flattering from the front I think. just look at those pretty eyelashes…

I’m interested in the reason for this, now, too, just because I noticed it with the hair in KCD2 on some characters. Whatever it is, OP, even big pros have it.
check out my update, it was just the shader, which was creating a lot of variation for the hair. Apparently it made some of it transparent.
I’ve only got basic experience with Blender’s grooming system, but here are my would -be checkpoints:
-
Check the UV map is in good condition, that those bald polygons are properly mapped;
-
Check normals are facing the right way for the entire surface
-
Check the hair isn’t poking through the other side or lying parallel to the surface, which seems obvious and you probably already did;
-
Check you are displaying all hair curves on your viewport, that your limits are enough for the amount of curves
I figured out it was the shader I was using, creating too much variation, and those parts were transparent. I put a simple shader on the short parts and it all looks a lot smoother.
Awesome you figured it out! Strange to hear it was the shader but hey good job troubleshooting
-
deleted by creator
